For enthusiasts of arcade gaming, there’s perhaps no greater thrill than diving into the world of pinball. But what if you could bring that excitement into your own home, crafting a custom pinball experience tailored to your preferences? With a DIY virtual pinball machine, that dream becomes a reality. Follow this comprehensive guide to embark on your journey of building your very own virtual pinball masterpiece.
Step 1: Planning and Research
Before diving into construction, take the time to research and plan your DIY virtual pinball machine. Consider factors such as budget, available space, and desired features. Explore online forums, tutorials, and community resources to gather inspiration and insights from fellow DIY enthusiasts.
Step 2: Gather Materials and Components
Once you have a clear vision of your project, gather the necessary materials and components. This typically includes:
A PC or Raspberry Pi for running the virtual pinball software.
Monitors or displays for the playfield, backglass, and scoreboard.
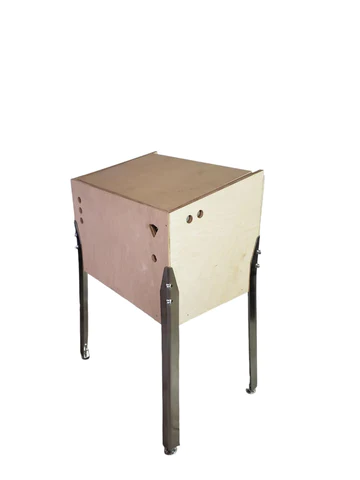
A cabinet or frame to house the components.
Buttons, flippers, and other arcade controls.
Wiring, power supplies, and other electronic components.
Step 3: Build or Retrofit the Cabinet
Depending on your skills and resources, you can either build a custom cabinet from scratch or retrofit an existing one. Design the cabinet to accommodate the monitors, controls, and other components, ensuring proper ergonomics and aesthetics. Consider adding custom artwork or decals to personalize your machine.
Step 4: Install and Configure Software
Select and install virtual pinball software onto your PC or Raspberry Pi. Popular options include Visual Pinball, Future Pinball, and Pinball FX. Configure the software to your liking, including selecting and installing virtual pinball tables, adjusting graphics settings, and configuring input controls.
Step 5: Assemble and Wire Components
Install the monitors, controls, and other components into the cabinet. Wire everything together according to your design and specifications, ensuring proper connections and functionality. Test each component thoroughly to identify and troubleshoot any issues.
Step 6: Fine-Tuning and Calibration
Once everything is assembled and wired, fine-tune and calibrate your DIY virtual pinball machine. Adjust settings such as flipper strength, plunger sensitivity, and display brightness to optimize gameplay and performance. Test the machine extensively to ensure smooth operation and responsiveness.
Step 7: Enjoy Your Creation
With your DIY virtual pinball machine complete, it’s time to sit back, relax, and enjoy the fruits of your labor. Invite friends and family to experience the excitement of arcade-quality pinball in the comfort of your own home. Explore different virtual pinball tables, challenge high scores, and immerse yourself in the endless fun of your custom creation.
Embark on your DIY virtual pinball machine project today and unleash your creativity and passion for arcade gaming. With dedication, patience, and a little ingenuity, you can craft a one-of-a-kind gaming experience that brings the magic of pinball into your home like never before.